There are 2 ways to create a new profile:
- Create a new profile
- Make a copy of the existing profile
New profile
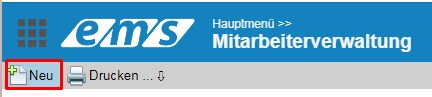
A new profile is created in the employee administration via the “New” button in the menu bar.
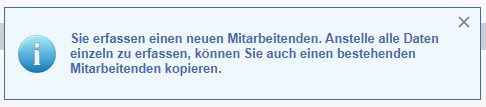
When you create a profile, the system will automatically recommend you to take a copy of the existing profile as a basis to simplify the procedure and to apply the profile settings. Copying is described below.
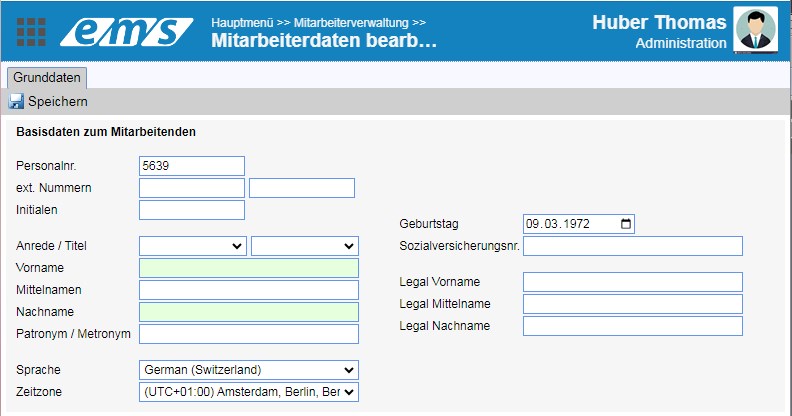
In the first dialog box, the following (mainly green) fields must be filled in:
- Personnel no. – System number, is added automatically
- ext. numbers – internal personnel numbers of the company (2 numbers can be created)
- Initials – name abbreviation
- Salutation – Mr. or Mrs.
- Title – scientific title
- Names
- Birthday
- Social security number
After entering the basic data and saving, more tabs appear.
The second step is to make the integration into the organization (click on Plus).

The dialog that appeared contains the following fields:
- Valid from – date of joining the company (only from this date the profile appears in the simple search of the employee management. Before that only via advanced search and with activating the inactive employees)
- Reason for change – new entry, re-entry. If this field is left blank, the system will fill it in automatically.
- Cost center – select from the drop-down list (by default, an entry of 100% is provided. It is also possible to add more cost centers with plus, for splitting the cost centers).
- Department – Select from the DropDown list
- Supervisor – Select from the drop-down list by name or personnel number (the employee is assigned to the automatic authorization role of this supervisor)
- Function in the company and other data
- Contact details
- E-mail address (This will be used as the username for logging in. The login data and later notifications will be sent to this address).

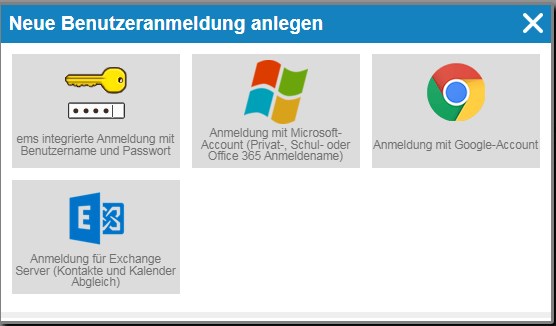
The third step is to create the user login. After clicking Plus, the dialog box with possible logins appears.
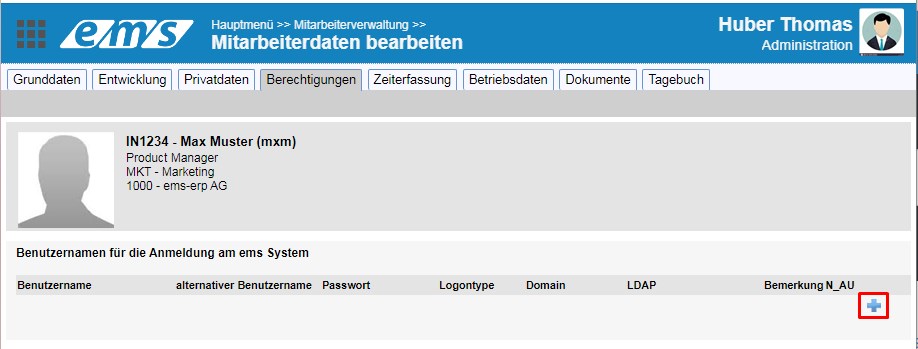
Usually the ems integrated login with username and password is used.
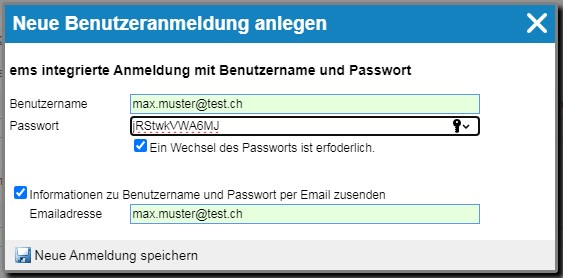
In the next dialog a system generated password is suggested. If “Change password” is enabled, the user will have to change the password when logging in for the first time.
The login data can be sent to the specified e-mail address (by default from the new user) (select the checkbox).
The fourth step is to select the authorization roles . Over the night after creation, applicable permissions are automatically activated (if any). The manually selected roles will be activated from the current time.

Read more about setting permissions here.
If time and expense recording is to be activated for the new employee, this must be set as the fifth step in the “Time recording” tab under “Recording profile and shift schedule for time recording”.

After pressing Plus, the dialog box for setting the time recording appears:
- Valid from – for entry, the date must be the same as the date of integration into the organization.
- Reason for change – entry, shift plan change
- Type of acquisition:
- – Monthly wage / Hourly wage / External personnel
- – “simple” or “complete”: a simplified capture (only hours, without the start and end time) // the complete capture with start and end time or capture of half or whole days.
- – “clock in” or “clock out”: the employee cannot change the start and end times // the employee can change the start and end times
- – “geo” – always request capture with location data (geo-location) (ems Mobile only)
- – “Shift schedule”: the entered data is compared with a shift schedule (target hours).
- Shift plan (e.g. B. 100% shift schedule, 40% shift schedule or “absences only” (recording of working hours is possible, but not mandatory) – read more about shift schedules here.
- Entitlements – Automatic entitlements (e.g. annual leave entitlements – read more about this here) – these are created by the developer
- Rules – Special rules (e.g. break regulations, company vacations, etc.) – these are created by the developer

If available, the cost rate can then be created in the “Operating data” tab.
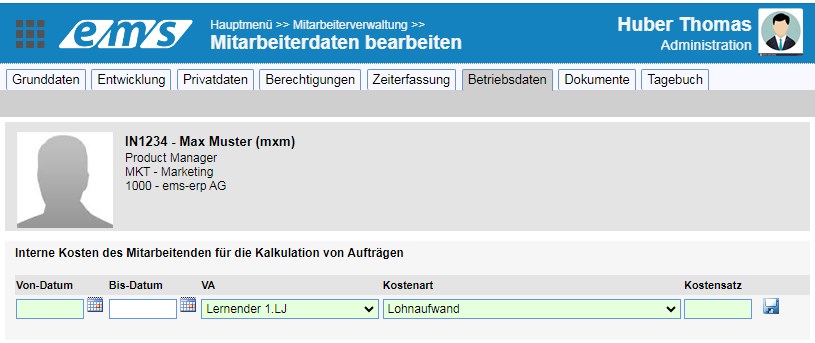
The cost rate is the internal cost expenses (salary + insurance + fringe benefits + vehicle and other costs). It can be a full cost rate or a partial cost rate. The cost rate has no influence on the billing to the customer (customer invoice).
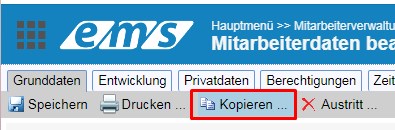
Copy profile
To simplify the creation of a new profile, you can make a copy of the corresponding profile (with the same or similar settings). Open this profile and click on “Copy…”
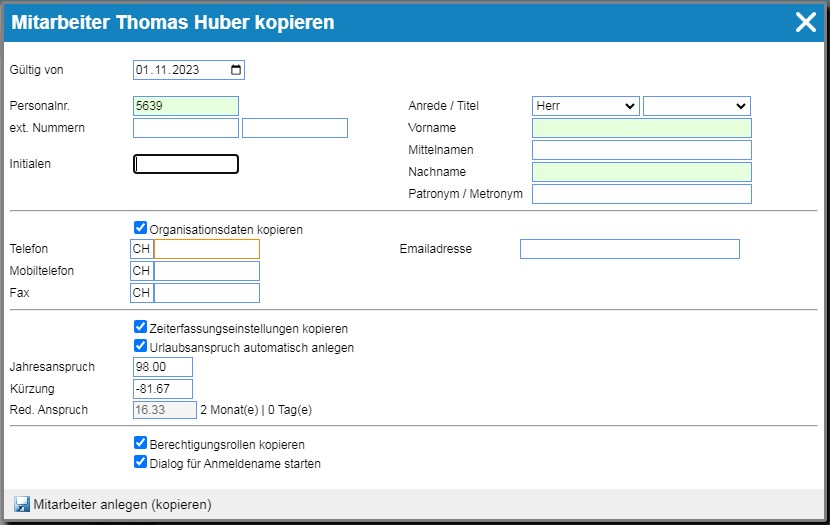
In the dialog that appears, fill in the main fields as you would for a new profile (see above).
Special settings:
- Checkbox “Copy organization data” – data of the integration into the organization is copied (can be adjusted later via “Mutate”)
- Checkbox “Copy time recording settings” – data from “Recording profile and shift plan for time recording” are copied
- Checkbox “Create vacation entitlement” – If the checkbox is selected, the annual entitlement is automatically calculated and created. (does not always work! check!) If not – the annual leave entitlement must be entered manually
- Checkbox “Copy authorization roles” – The applied authorization roles are copied
- Checkbox “Start dialog for login name” – Dialog for setting the login is started. (does not always work! start manually if necessary)
After creating, the necessary adjustments can be made in the profile.
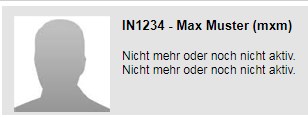
Note that the created profile will appear in the simple search of the employee management only from the date of entry. Before that – in the advanced search with the “Show inactive employees as well” checkbox selected.
The profile is marked “No longer or not yet active”.