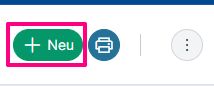
To create a new campaign, click on +New above the overview.
Basic data of a marketing campaign #
Enter the basic data for the new campaign in the screen that appears.

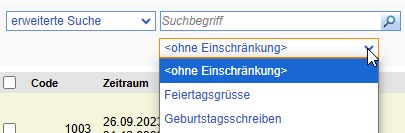
- Campaign type / Campaign type: select the type from those stored. Campaigns can then be filtered according to this type using the advanced search.
- Newsletter type: if the campaign is a contact list for Mailjet, select one of the 2 categories here (Mailjet – Newsletter Campaign / Mailjet – Transactional Email). Further information about the connection to Mailjet can be found here: Mailjet connection (for campaigns)
- the parcel enclosure option enables the letter to be sent with an attachment.
- The following statuses can be set for the campaign: Budgeted/Projected, In Planning, Organization, Accepted, Implemented.
- Title – name of the campaign
- Text – Description of the campaign
Linked campaigns #
Further campaigns can be assigned to a campaign. To do this, activate the Linked campaigns button in the Linked campaigns tab. The screen for creating a campaign opens.
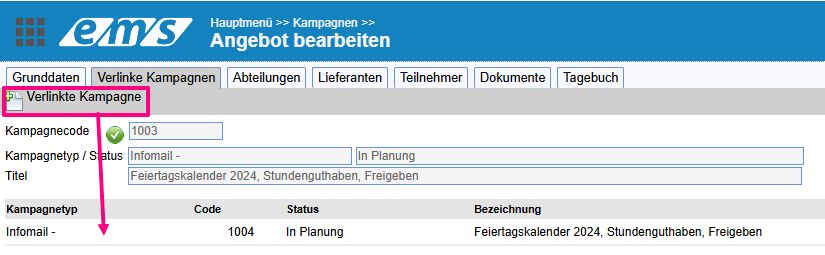
The linked / subordinate campaigns are marked with a corresponding symbol in the campaign list.

Suppliers #
The suppliers / campaign executors can be specified for each campaign. Use the magnifying glass to find the address. The supplier can be supplemented with the access data to their website / customer portal.

Participants #
The Participants tab contains all contacts for this campaign. Not only the addresses from the customer base can be selected as participants, but also the participants of a one-off event without the address being included in the customer database (such participants do not have a customer number).
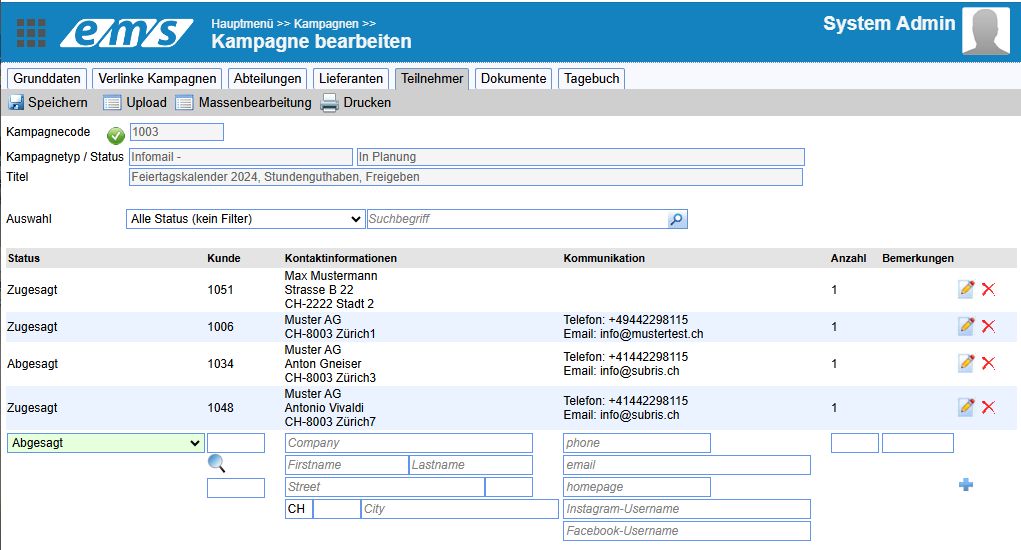
Each participant has a campaign status. If it is a regular campaign, the customer can cancel their further participation in the campaign in the first e-mail, so the status Canceled appears.
Other possible statuses are: Confirmed, Planned, Invited, Reserved.
You can store additional statuses. In addition, ems offers the option of adding up to 5 campaign status columns to the customer address list. The participation status of the customer address in the selected campaign is displayed.
The contact can only contain an e-mail address, without a name and address.
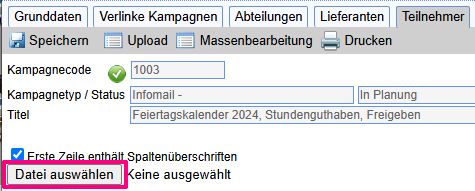
Customer data import #
Customer import is possible with the Upload function. Data is imported using an Excel file.

Click Select file to select and upload the Excel spreadsheet. The First row contains column headings option signals to the system that the column headings can be found in the first row.
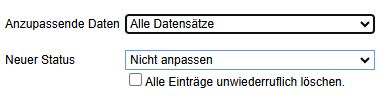
Mass processing #
If you want to edit several participants at the same time, use the mass editing function.

Then select the data records to be adjusted (all or from one status) and the desired new status. If the Delete all entries irrevocably option is activated, the selected data records are deleted after saving.
Campaign documents #
You can store any number of documents for each campaign. To do this, use Drag&Drop or Select. You can enter the URL for the file in the field to the right of Drag&Drop.
If the Overwrite files with the same name checkbox is active, a document with the same name will replace one that has already been uploaded. It is suitable for updating files.
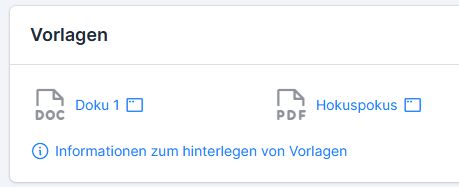
Store templates #
If you would like to upload a document as a template in which the campaign data is automatically integrated, you can upload this under Templates . You can find out how to work with the templates here: Document templates
Campaign diary #
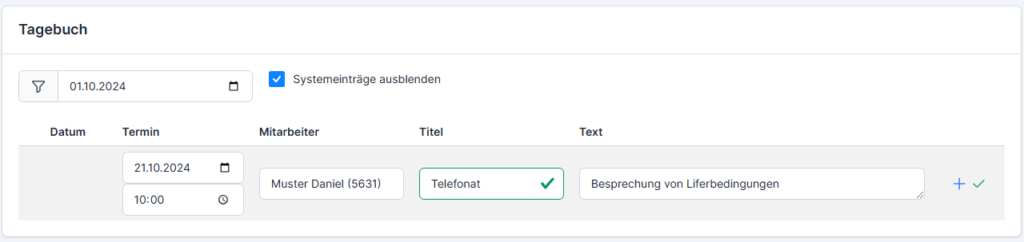
The diary allows you to enter reminders and appointments for employees and yourself for campaigns. Set the appointment, select the employee responsible and describe the task, then click Plus to save.

The employee sees this task on their web start page (versions X2 and X3).


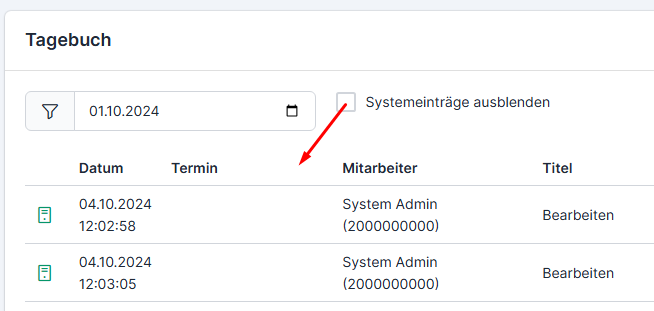
If you want to show the system entries, deactivate the Hide system entries checkbox.
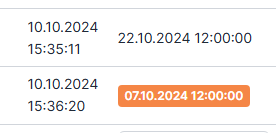
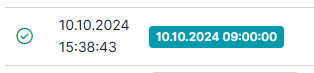
If the task has been completed and released, it is highlighted in green.
If the date of the task is overdue, it is highlighted in orange.