Offer overview #
The offers (also other objects such as addresses, invoices, orders) are differentiated according to the search:
- Simple search – here you will find all offers that have not been completed
- Advanced search – here you will find, among other things, all completed offers (with status order received and order not received)
- Search by reference number – the search is carried out by reference number regardless of the offer status

To edit the offer, click on the pencil/mutation symbol on the right. The quotation overview contains data on the quotation status (quotation opportunity and processing status).
Offer status and processing status #
The offers can have different statuses: Offer not received (0%), Offer low chance (20%), Offer medium chance (50%), Offer high chance (80%), Order received (100%) – the chance of the offer is shown in brackets. The statuses are stored in the offer settings.
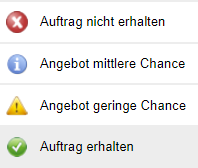
Depending on the processing status, the offers are marked with different symbols in front of them:
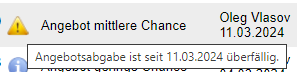
- Exclamation mark in the yellow triangle – Bid submission is overdue (The bid has not been completed)
- Hourglass – the offer has been completed and is still valid for a specified time.

- i symbol in a blue circle – the offer has been completed but is no longer valid.

- Order received – The offer has been accepted and an order has been entered.

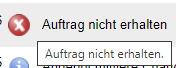
- Order not received – the offer was rejected.
The processing status is also displayed in the offer before the offer number.
The status of the offer can be selected / changed in the basic data (the statuses are displayed in ascending order – from 0% to 100% chance of implementation).
The status is changed via the Orders tab, among other things:
- When you click on +Customer order a new order is created and the quotation receives the status Order received.
- Clicking on Not received sets the status Order not received.

Enter new offer #
New offer from the address list #
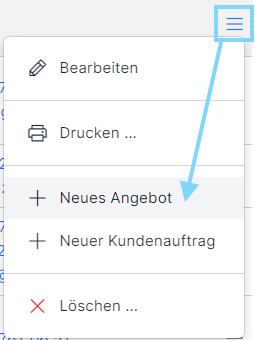
A new offer can be entered from the customer address overview. Find the desired address and use the menu in the address line on the right to access the menu item Enter offer.
New offer from the customer address #
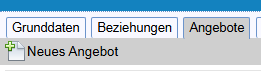
A new quote can be created from the contact via the Quote tab – click on the +New quote button.
New offer from the offer management #
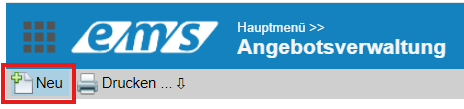
A new quote can also be entered from the Quote management module using the New button.
Enter data for the new offer #
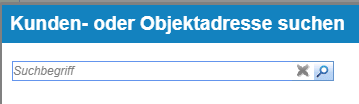
First, a customer or object address must be selected from the address book.
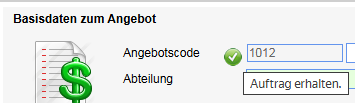
The input mask for entering basic data for the new offer will now open. The mandatory fields are highlighted in green.
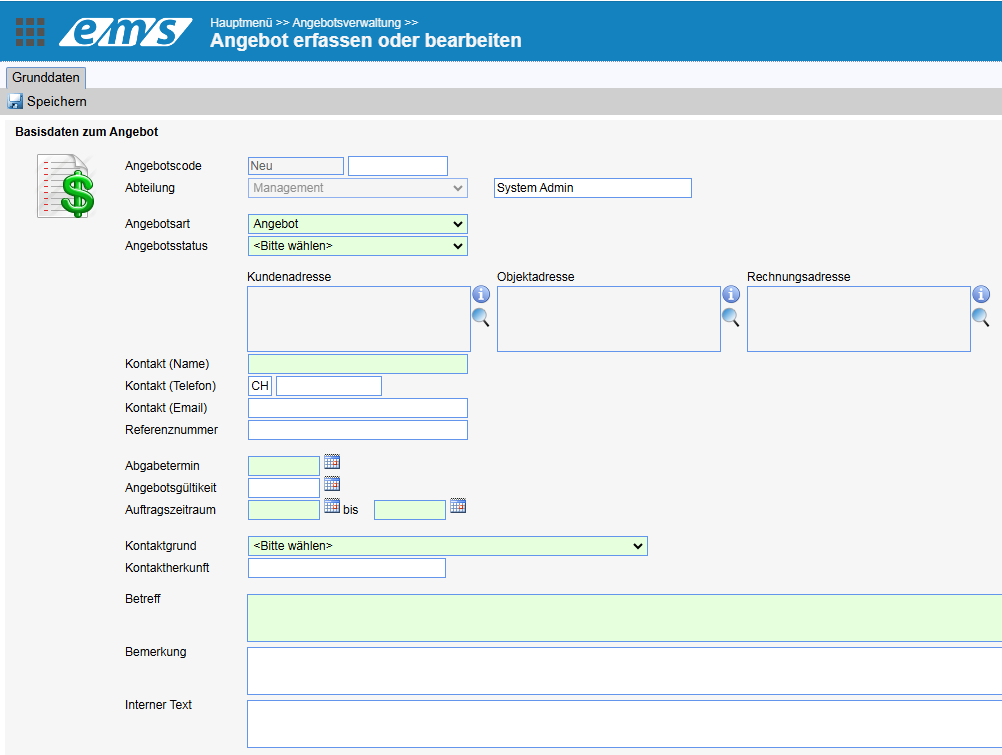
- Offer code – the consecutive basic number is set automatically by the system; an additional offer code can be entered in the second field
- Department – the department and the quote creator are automatically filled in by the system
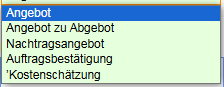
- Offer type – is selected from the dropdown: Quotation, quotation to bid, supplementary quotation, order confirmation, cost estimate.
Depending on the selected offer type, a corresponding document is stored when the offer is released:

- Offer status – you can read more about this above in the chapter Offer status and processing status
- The customer, object and invoice addresses can be identical or different.
If the customer address has been highlighted in color, it will also appear in this color in the offer.
If a comment was entered in the Note field for the offer when the address was entered, this will appear in the frame below the address.

- Contact (name) – if not known / available, add a dash
- Deadline – the system will check whether the offer has been completed before the deadline. In case of delay, the exclamation mark appears in front of the offer
- Offer validity – if not specified, the offer is valid for 30 days – it can be changed when releasing / finalizing the offer
- Order period – planned time frame for order processing
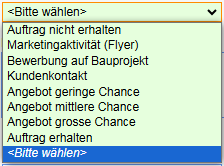
- Contact reason – the source of the offer must be selected here (these reasons are managed under offer settings )
- Subject – Offer description
- Comment – is a comment that can also be visible to the customer
- Internal text – a commentary on the offer for internal use
Link addresses to the offer #
If the quote is linked to addresses other than the customer address and customer contact, use the Linked addresses to quote section. This allows you to link several contacts to the quote: both customer and supplier addresses (e.g. for a construction project, the architect, administration and office contacts involved can be linked).

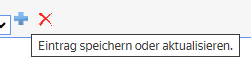
After filling in the basic data, click on Save. If the system is missing some data, it will not save the basic data until you have added the data – a corresponding error message will appear.
After saving basic data, further tabs are displayed.

Offer items #
The items of the offer are recorded in the Items tab.
(1) First of all, the larger component(variant or service group in the case of several groups with different payment frequencies) must be entered. To do this, enter the number of the supergroup/variant in the left-hand field (e.g. A/B/C or I/II/III), the name of the supergroup in the upper field and the description in the lower field, the payment frequency (total, total one-off, total monthly or annual recurring), the currency. Then click on Plus.
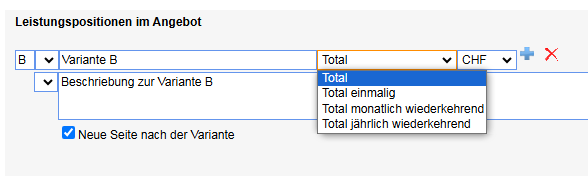
The checkbox New page after variant / group starts a new page after the respective variant / group in the created offer.
(2) Next, enter the groups of services within each variant / supergroup. The principle is analogous to the variant.

(3) Each group contains individual items / articles / services.

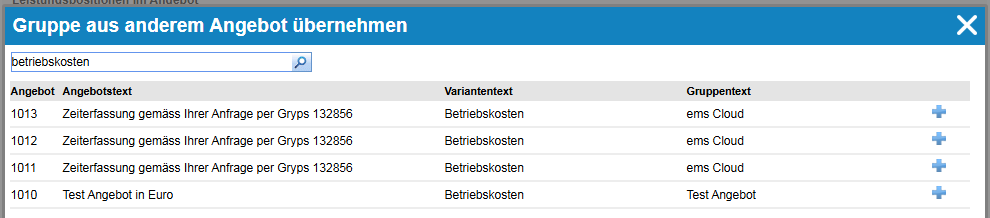
The items can be copied from the item master(magnifying glass symbol) or the favorites (more information: Item favorites) as well as from another offer(Copy from).

To insert articles from the article master, find the desired articles, enter the number and click on Apply.

Offers are searched for when copying from other offers via offer, variant and group text. To copy, click on Plus in the respective line. The items are inserted in the current group.
If the article is entered manually, it is transferred with the article code 100.
Each article has the article number, the article text as well as an article description if available, the quantity, the purchase and sales prices with the VAT rate if stored.
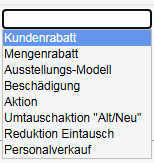
The item can be discounted here – the percentage and the reason for the discount must be selected from the drop-down list. The amount will be converted automatically.
The amount per item can be replaced with a note: free of charge, alternative, optional, recommended price. This amount is then not calculated in the total amount.

The individual items can be moved up/down using arrows.

The footer text in the offer is printed at the end of all variants. The footer text is usually used for conditions or agreements relating to the offer.
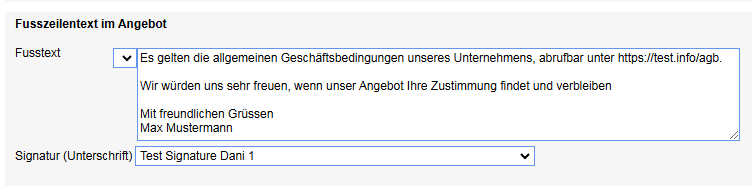
An electronic signature can also be used in the offer. This must be stored as a graphic file in the settings and selected in the Signature field. More about this: Quotation settings.
Calculation of the offer #
Global discounts on individual variants – both feature-related and across all items. Flat-rate discounts can also be recorded.
Basic data such as article name etc. for the article – price calculation of the offer. The costings are always replacements. This means that only the last calculation is valid.
Checklists for the offer #
Checklists can be created for the quotation and for other objects and are filled in when the quotation is created. More about checklists: Create checklists
Create subordinate offer #
Further offers can be subordinated to an offer, but these remain independent. To do this, click on the Subordinate button.
The subordinate offers appear in the lower part of Basic data:

In order to find the subordinate offers in the search, the checkbox“Also show subordinate offers” must be selected:

Copy offer #
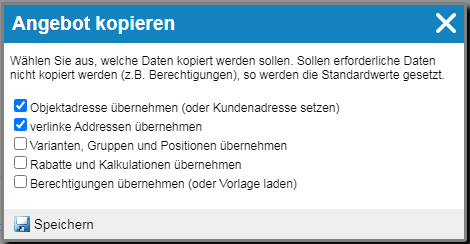
To create a new quote for the old customer, the existing quote can be copied. Click on Copy in the quote.
In the following screen, tick the necessary checkboxes depending on the data to be copied.
Release offer #
As soon as the offer is ready, it must be released. The system then considers it to be completed and sent. To do this, click on the Release button in the Items tab.

In the pop-up screen, you can extend the preset validity date of 30 days by additional days (+30T, +60T, +90T).
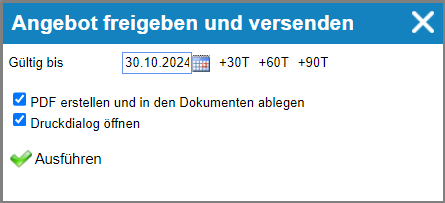
The option Create PDF and save in documents will save the created PDF in the Documents tab, from where you can send it to the customer.
To print the offer, activate the Open print dialog checkbox.
To exit, click on Execute.
Send offer #
The stored document can either be shared directly from here or copied and sent via your e-mail client.
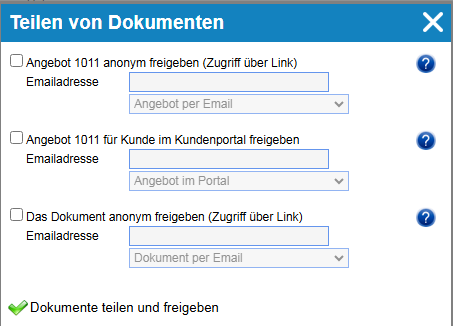
To share, click on the three dots and select Share document.

You can choose whether to send the offer with all documents as a link in the e-mail (with access for all e-mail recipients) or as a link to the customer portal (the customer uses their login data for access). You can also send only the selected document as a link. To send and share documents, click on Share and release documents.
Convert offer to order #
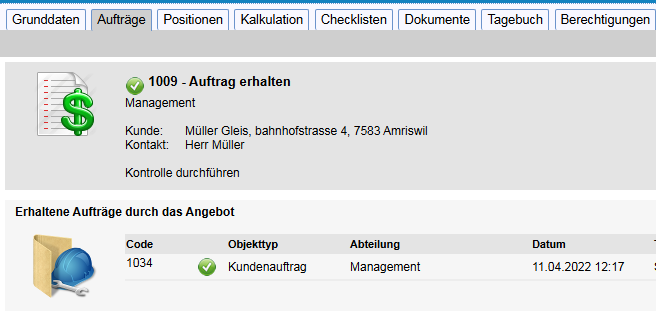
If the offer has been accepted by the customer, confirm it by clicking on +Customer order in the Orders tab.
The quotation is assigned the status Order received, is marked with a green symbol and the generation of the new sales order is started. Any number of customer and sales orders can be generated from each quotation. When generating, the customer data is copied from the quotation.
Create order confirmation #
To create an order confirmation, change the offer type in the offer basic data to order confirmation.

Then click on the Release button in the Items tab and select the Create PDF and save in documents option. The order confirmation is saved in the documents from where you can send it.
Offer not received #
If the quotation has not been accepted by the customer, you can give the quotation the status Not received. As a result, it appears in the quotation list with the status Order not received with a red cross.