
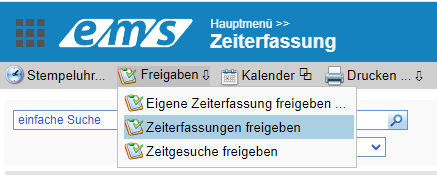
A submitted time entry can be withdrawn in several ways. Please note that the approval always refers to the submitted time period. This period is visible in the time entry list, the approval list, the employee’s time entries, and the employee profile. If the time period needs to be changed (for changes to a previous time period), this is done via the employee profile (see Option 4).
List of Time Entries
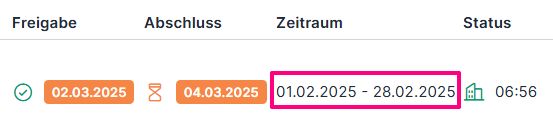
Approval List
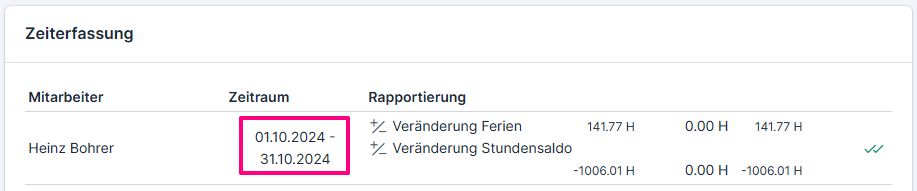
Employee Time Tracking
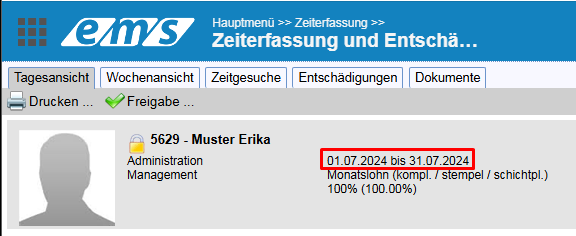
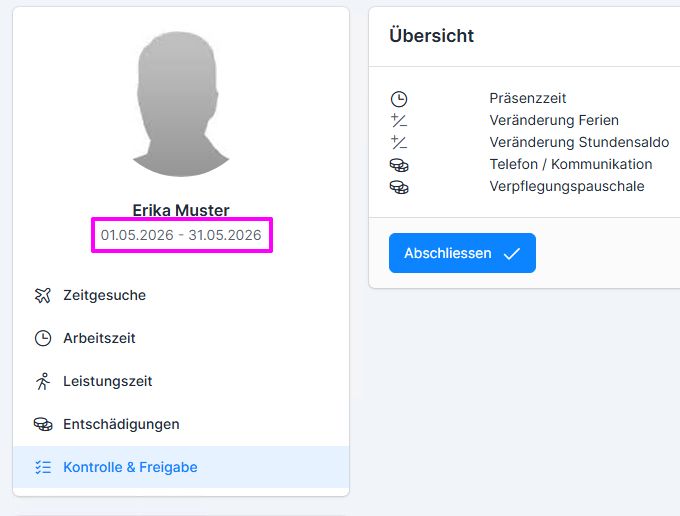
Employee Profile → Time Tracking Tab

Option 1: Visa Revocation via the Report Approval List (Web X2.0 only!) #
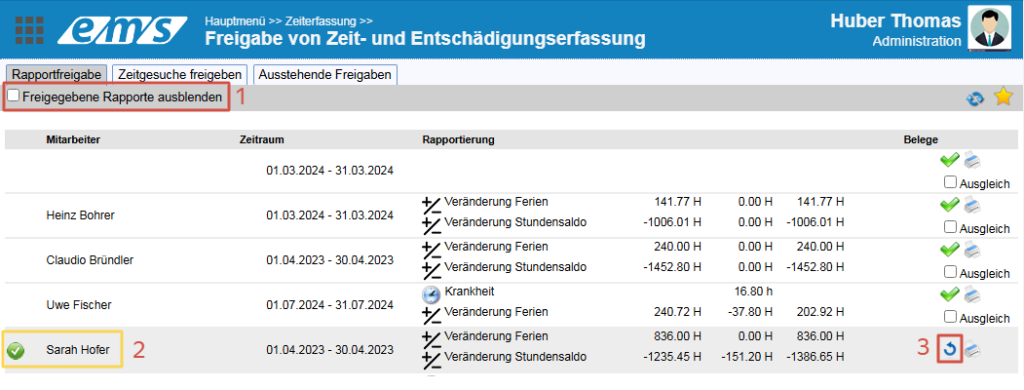
In the standard procedure, all employees who have been approved are removed from the approval list. To display reports that have already been approved, uncheck the “Hide Approved Reports” option (1). After that, all employees will be displayed, including those who have already submitted reports. You can identify reports that have already been approved by the green icon (yellow border) (2). Use the icon on the right to remove the employee’s approval (3).
Option 2: Revoking a visa from the time tracking system #
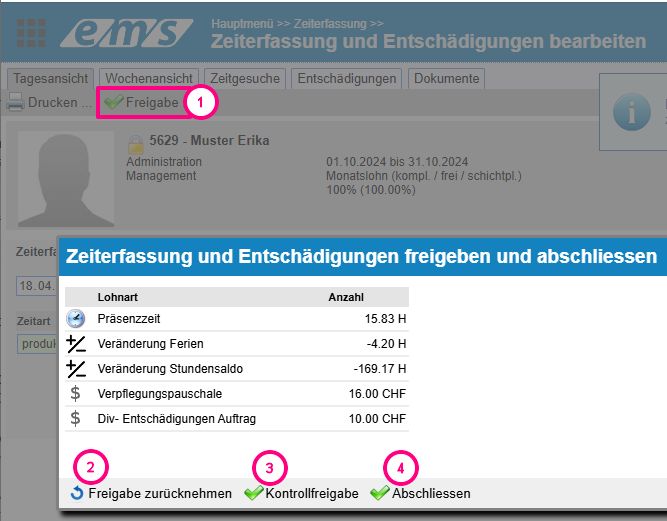
Open the employee’s record in the standard time tracking module. Click the ” Approve ” button (1) to access the employee’s summary overview. Depending on the current status and your permissions, you can add or remove the approval from the employee (2), the project manager (3), and/or the supervisor (4).
Option 3: Revoking a visa via the employee profile #
In the employee profile, open the Time Tracking tab, and in the Active Tracking Period section, click the three-dot menu on the right, then click Approve Time Tracking.
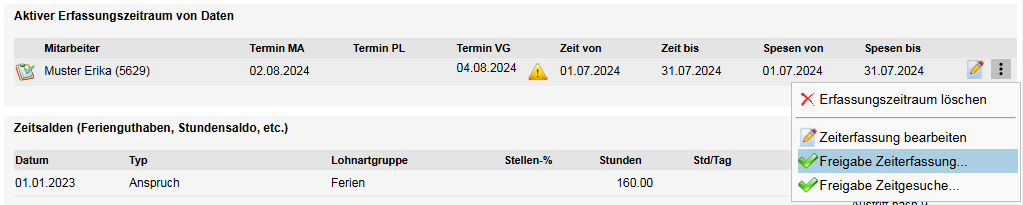
In the window that opens—just as in Option 2—you can revoke the approvals (from the employee (1), if applicable; the project manager (2); and the supervisor (3)).
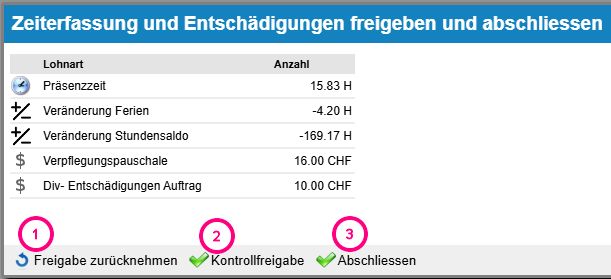
Option 4: Visa revocation not during the current period #
Once the report is complete and the active data entry period has changed to the next week or month, you must first change the active data entry period in order to revoke the approval. To do this, open the employee’s profile via Employee Management. In the “Time Tracking” tab, under“Active Data Entry Period,” click the“pencil” icon (1). Here, select the period you want to change (2). Finally, click “Save” (3).


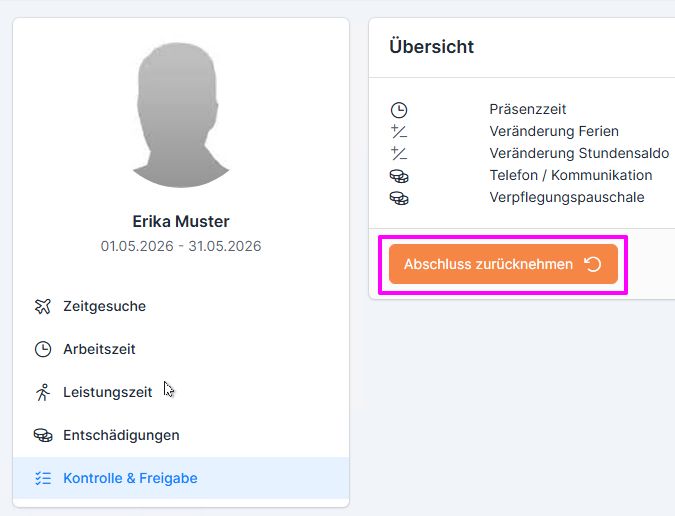
Click the three vertical dots to open the submenu, select “Approve Time Entry,” and on the next screen, click “Undo Closure.”
You can also manually set a specific time period (using the calendar /field on the right/ or the keyboard).



By selecting “Edit Time Entry,” you can open the dialog box for editing time entries for the specified time period (red box).
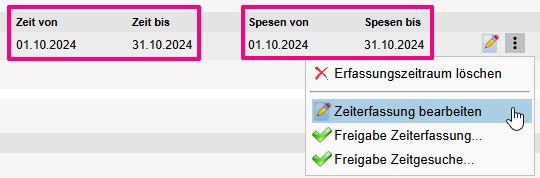
After completing the changes within the specified time frame and approving the report, the data entry period must be reset to the current period.