Install Automatically #
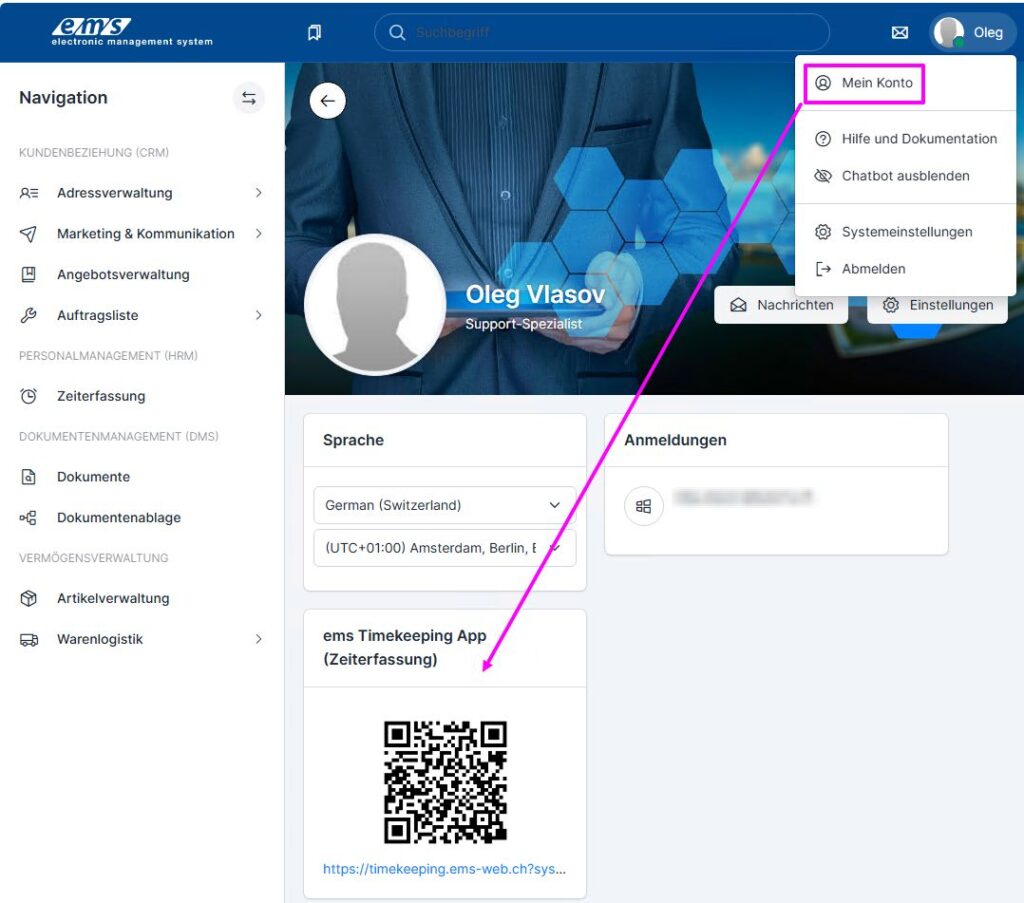
Alternatively, you can scan a QR code containing the URL. You can find it in the web version: User menu (top right) → My Account → ems Timekeeping App. You can do this directly using the camera app.
Both the QR code and the link below it will open the ems Time app and add your system at the same time.
Install Manually #
The ems Time app can be opened in a web browser using the following URL: https://timekeeping.ems-web.ch/. (Don’t forget to include the “https://” protocol at the beginning.)
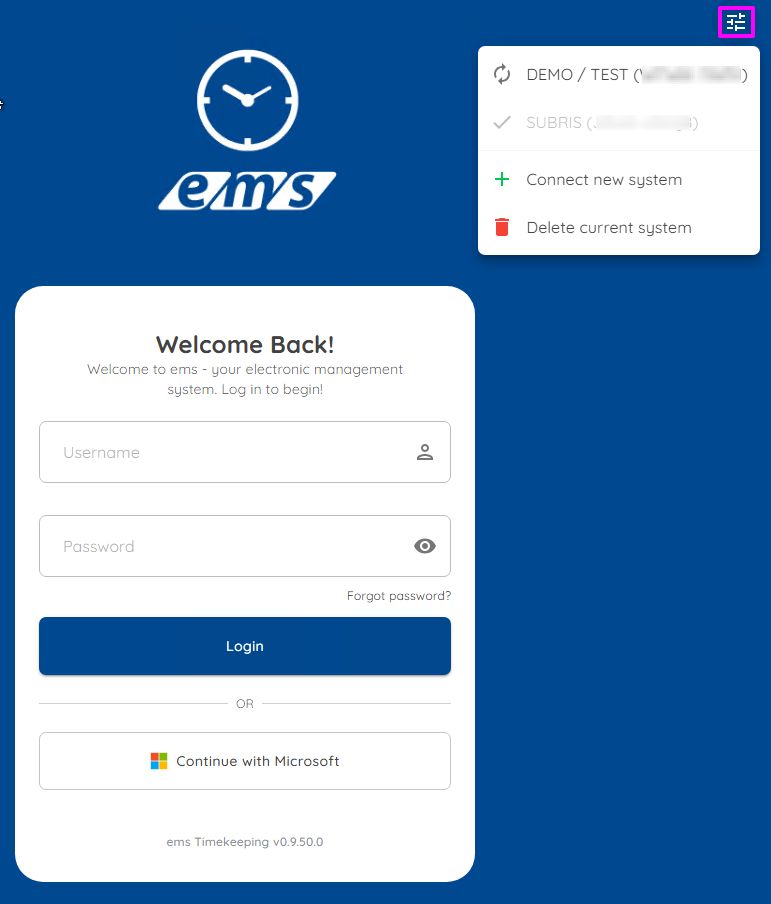
The second step is to add the ems system via the settings in the upper-right corner. To do this, you must enter the system code.
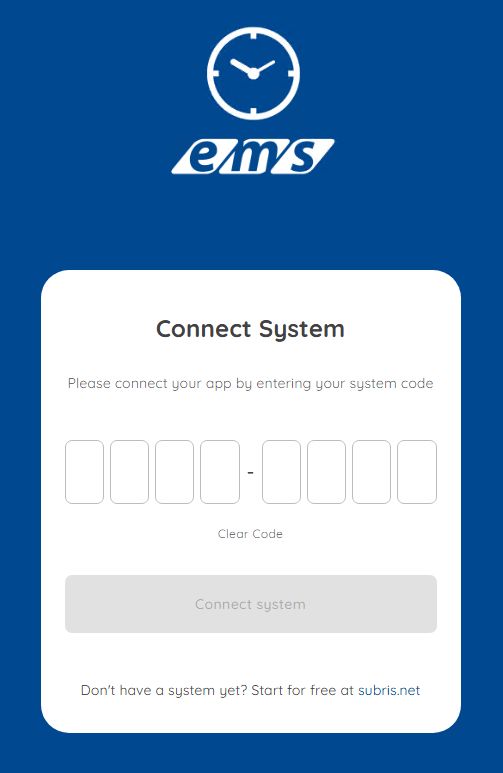
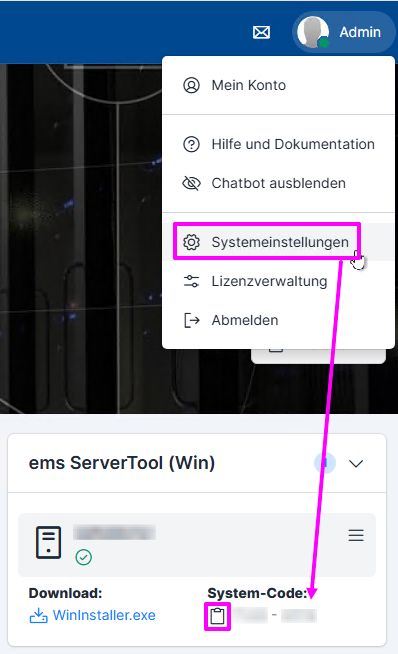
You can find the system code via the web version of the system (provided by your system administrator): User menu (top right) → System Settings → ems ServerTool → System Code. When you click the folder icon, the code is copied and can be pasted (if the ems Time app is open on your PC).
Create an icon on the home screen #
With the app page open, select the “Add to Home Screen” or “Add to Start Screen” option from the three-dot menu in your browser.
You can now rename the icon and then move it to the desired location on your screen.
Manage multiple ems systems #
You can add and manage multiple systems within a single app. To add additional systems, open the corresponding screen by tapping the settings icon in the upper-right corner. You can also remove added systems from the list here.
The selected system is marked with a checkmark icon; the ones that can be activated are marked with two circular arrows.