
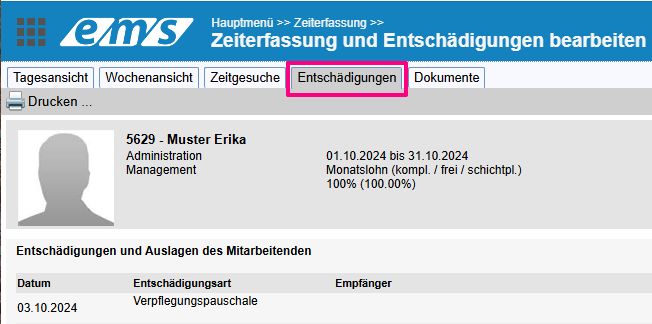
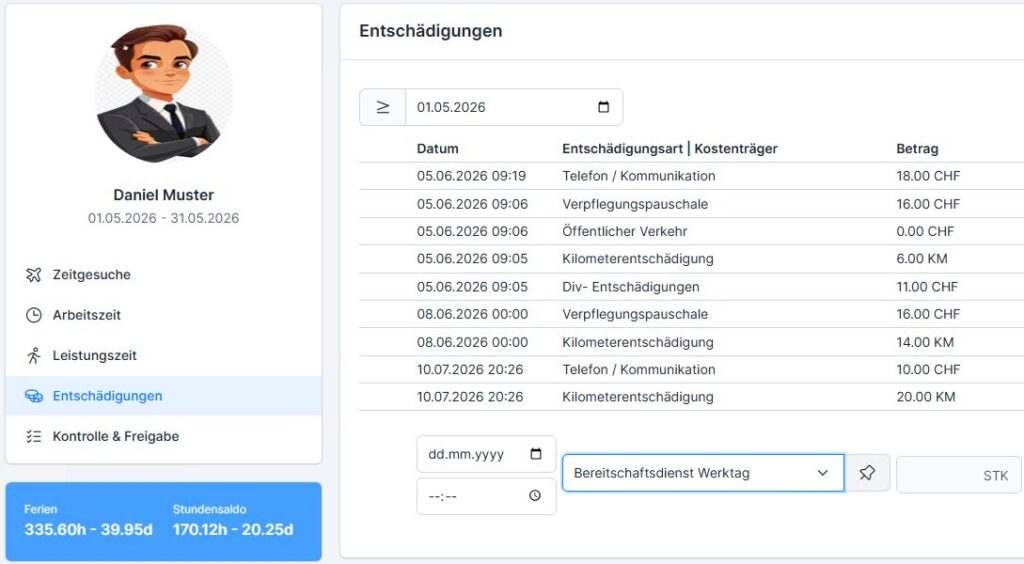
In the time and expense tracking module, you can also enter various reimbursements. Click on the “Reimbursements” tab to open the entry form.
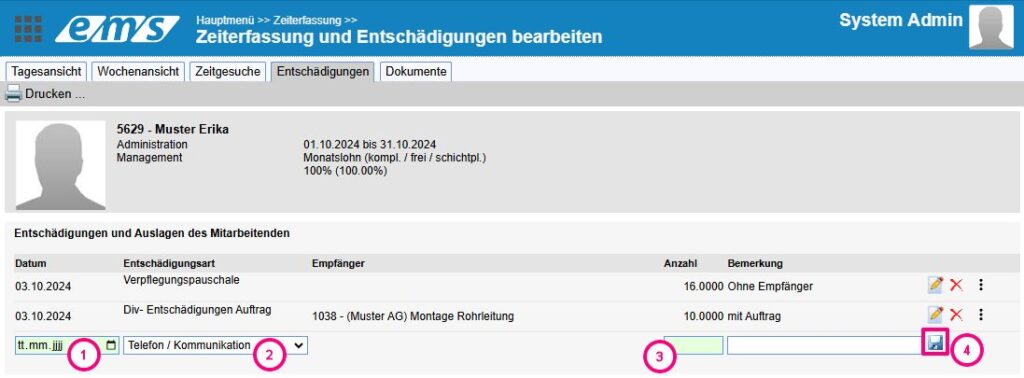
- Enter the desired day in the “Date” column (1). You can enter this either manually or using the calendar button.
- Under the column “Compensation type” (2), indicate which compensation is involved. The selection may vary depending on the authorization in the system.
- If you would like to enter expenses for on-call duty, click on your assigned group in the “On-Call Group” column.
- Enter the quantity (3) (for compensation items with a fixed value, the quantity appears automatically).
- You can leave either an internal or an external comment (4).
- In the new X3.0 layout, you can also attach a document (the attachment button turns green when the upload is successful).
- Save your entry by clicking the floppy disk icon or the “Plus” button.

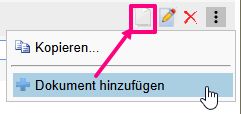
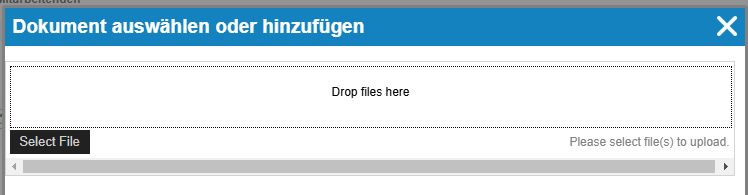
In the old X2.0 layout, you can add an attachment after saving the expense report: This means you can upload scans of your receipts. To do this, first enter the expense claim, then use the three-bar menu to select the “Add Document” function, and in the dialog box that opens, add the document by clicking “Select” or using drag-and-drop. Only one document can be saved per expense claim. To open the uploaded file, click the document icon.
Receipts uploaded via the ems Mobile and ems Time apps are also visible in ems Web. For instructions on how to enter reimbursements via ems Mobile, see the following guides: Entering and Editing Reimbursements (ems Mobile), Entering and Editing Reimbursements (ems Time App)
Compensation can also be recorded for the order: Time and Compensation Entry for Customer Orders (ems Web) and Time and Compensation Entry for Customer Orders (ems Mobile)